
Lily and I decided she needed one as well. Here are my mods.
Trace front and back pieces.

I decided since I wasn't doing the elastic I didn't want the A line look. I measures from the arm pit to the center line, mind is 9 1/8 so I drew a line 9 1/8 away from the center fold or cut line on both front and back.
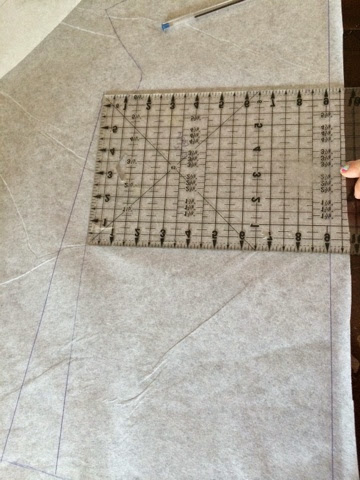
The back piece will now be cute on the fold.

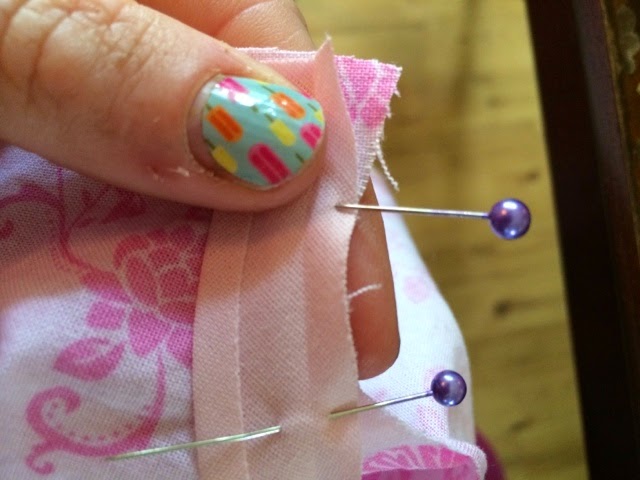
Now let's create the button bands. First measure 1 inch from the center fold line. Draw a line the length of the top.

Do the same 3/8" from the line just drawn.

The front will no longer be cut on the fold. Now we cut 2 pieces.

Press the front under 3/8 on both sides.


Also press 1 inch to the wrong side.

I like to use interfacing in my facings and button bands so cut 2, 1" pieces the length on the front and press as shown.

Sew shoulder seams

We are going to use 1/2" single fold bias tape for the neck and arms.

Apply per manufacturers instructions


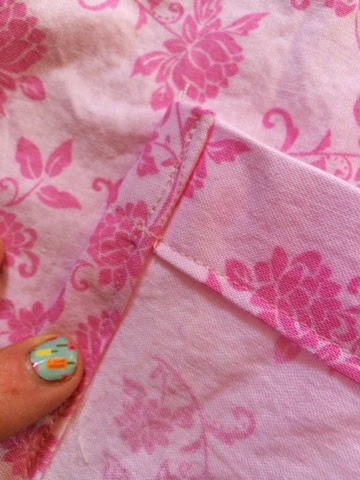
Top stitch your button bands down.

Fold up 1/2" and an additional 1/2" and hem.
Evenly space buttons and button holes.

Wear on the first day of school with a ckc retro headband and modified holly trousers.

Hope you enjoyed this tutorial, if you have questions feel free to ask.
Have a great one
Kristen